上一篇我们说了 Aws的EC2服务器用lego获得免费证书并更新到ACM,这下又来了个更加有难度的挑战:
DNS解析是放在了AWS Route 53上,然后vps上跑着BT宝塔,用来代理转发开发环境的https证书
这个环境如何用lego来安全的申请到证书并配置宝塔呢?这回可不像EC2那样可以自动附加IAM角色了
我们先来看看lego的用法吧:
https://go-acme.github.io/lego/dns/route53/
语法如下:

继续看,看来必须需要IAM的凭据才可以,继续下拉,有使用IAM的policy,那我们必须创建一个Role角色,然后再建立一个代理用户,gen出key,通过这个代理用户的凭据来间接进行访问
步骤如下:
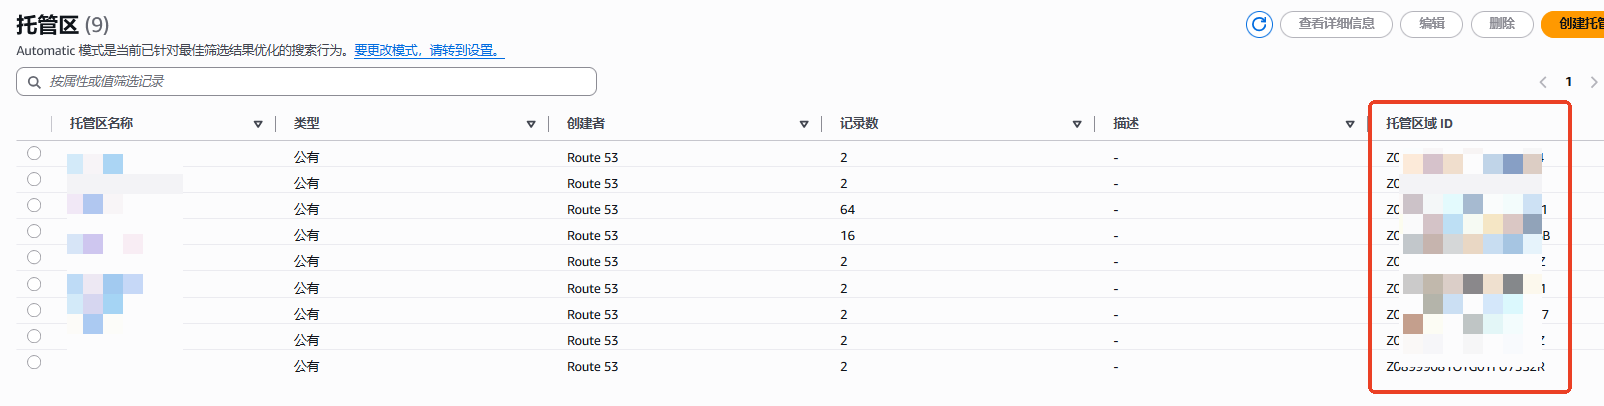
一、去route53,拿到arn
我们要拿到具体域名的zone ID,就是Z0打头的那一串
二、建立IAM实际工作的Role
首先建立一个Policy,route53AcmeCert
{
    "Version": "2012-10-17
    "Statement": [

            "Effect": "Allow",
            "Action": "route53:GetChange",
            "Resource": "arn:aws:route53:::change/*"
        },
        {
            "Effect": "Allow",
            "Action": "route53:ListHostedZonesByName",
        },
        {
            "Effect": "Allow",
            "Action": [
                "route53:ListResourceRecordSets"
            ],
            "Resource": [
                "arn:aws:route53:::hostedzone/Z01111111111111111111"
            ]
        },
        {
            "Effect": "Allow",
            "Action": [
                "route53:ChangeResourceRecordSets"
            ],
            "Resource": [
                "arn:aws:route53:::hostedzone/Z01111111111111111111"
            ],
            "Condition": {
                "ForAllValues:StringEquals": {
                    "route53:ChangeResourceRecordSetsNormalizedRecordNames": [
                        "_acme-challenge.example.com"
                    ],
                    "route53:ChangeResourceRecordSetsRecordTypes": [
                        "TXT"
                    ]
                }
            }
        }
    ]
}
然后建立一个Role,RealUpdateCertRole,绑定上面的策略
并且拿到这个Role角色的arn
三、建立IAM实际工作的用户
建立一个用户CertProxyUser,这里不需要提前建立policy,直接用内联policy即可,arn替换成正确的
其实就是STS动态获得指定用户的权限:
{
    "Version": "2012-10-17",
    "Statement": [
        {
            "Effect": "Allow",
            "Action": "sts:AssumeRole",
            "Resource": "arn:aws:iam::111111111111:role/RealUpdateCertRole"
        }
    ]
}
中间111111111是account id
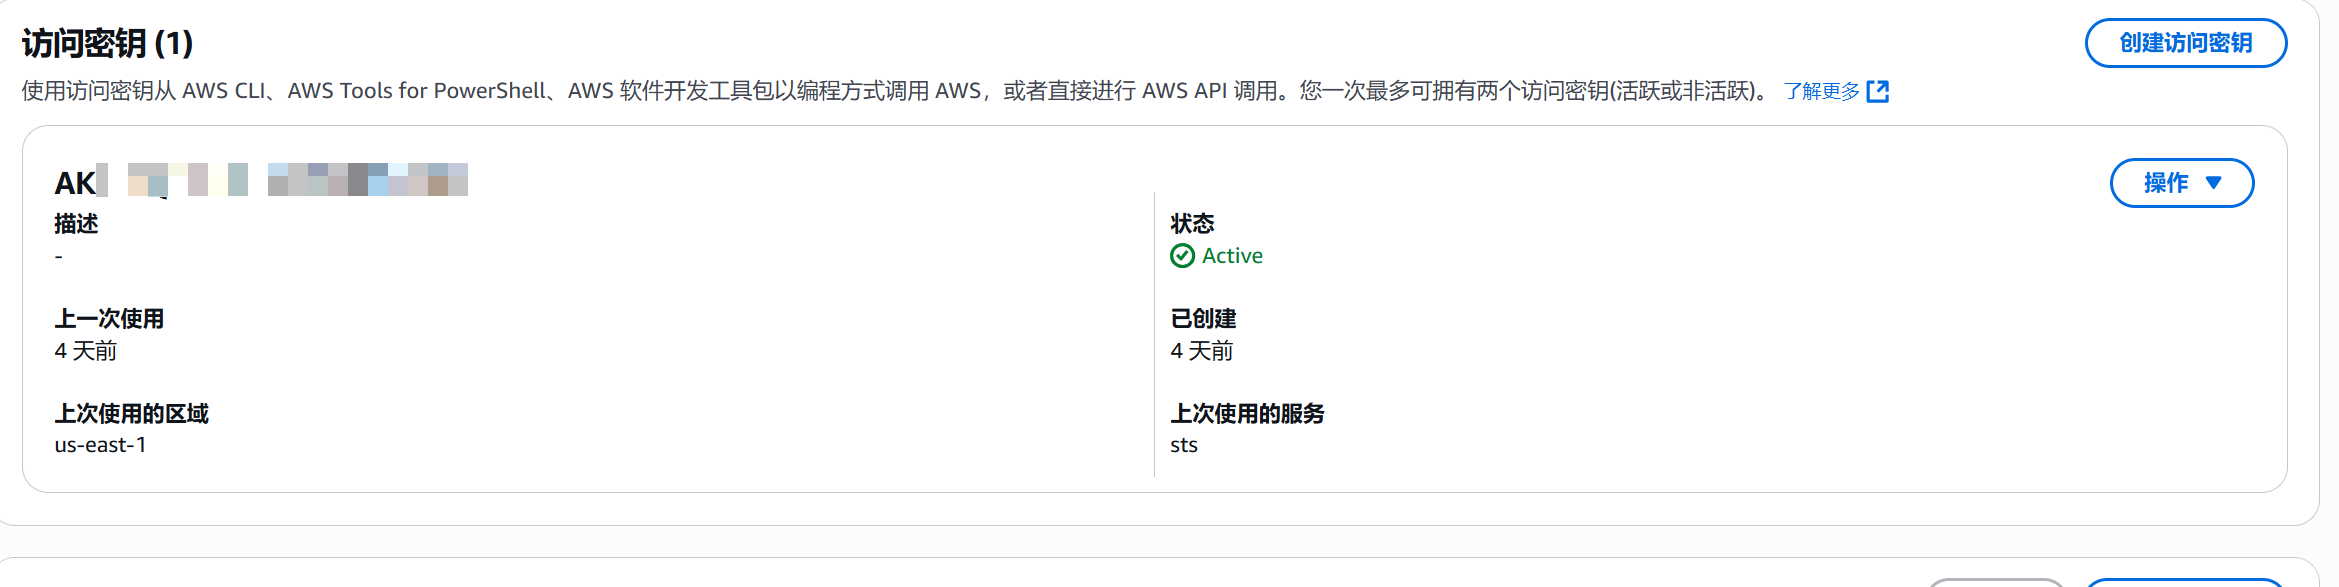
然后GEN出一对访问密钥
四、配置aws
cd .aws

cat credentials
[CertProxyUser]
aws_access_key_id = AK11111111111111
aws_secret_access_key = 222222222222222

cat config
[profile CertProxyUser]

[profile RealUpdateCertRole]
role_arn = arn:aws:iam::111111111111:role/RealUpdateCertRole
source_profile = CertProxyUser
五、撰写lego获取证书的脚本
/usr/local/bin/get-cert.sh,它会自动用CertProxyUser凭据,获得RealUpdateCertRole的角色,然后去拿到证书
#!/bin/bash

AWS_PROFILE_NAME="RealUpdateCertRole"

CREDENTIALS=$(aws sts assume-role \
  --role-arn "$(aws configure get role_arn --profile ${AWS_PROFILE_NAME})" \
  --role-session-name "${AWS_PROFILE_NAME}-session-$(date +%s)" \
  --profile "$(aws configure get source_profile --profile ${AWS_PROFILE_NAME})" \
  --output json)

if [ $? -ne 0 ]; then
    echo "Error: Failed to assume role. Please check your IAM role, source profile, and network connectivity."
    exit 1
fi

export AWS_ACCESS_KEY_ID=$(echo "$CREDENTIALS" | jq -r '.Credentials.AccessKeyId')
export AWS_SECRET_ACCESS_KEY=$(echo "$CREDENTIALS" | jq -r '.Credentials.SecretAccessKey')
export AWS_SESSION_TOKEN=$(echo "$CREDENTIALS" | jq -r '.Credentials.SessionToken')
export AWS_REGION=ap-southeast-1
export AWS_HOSTED_ZONE_ID=Z1111111111111111111

/usr/local/bin/lego --path /usr/local/bin/certs --domains *.example.com --domains example.com --email zhangranrui@gmail.com --dns route53 --accept-tos=true renew --renew-hook="/usr/local/bin/update-cert.sh"
/usr/local/bin/update-cert.sh 就是更新宝塔证书的过程
#!/bin/bash

cp /usr/local/bin/certs/certificates/_.example.com.crt /www/server/panel/vhost/cert/example.com/fullchain.pem
cp /usr/local/bin/certs/certificates/_.example.com.key /www/server/panel/vhost/cert/example.com/privkey.pem

/etc/init.d/nginx reload
其实就是替换掉vhost下的证书,然后重启Nginx。
这样就搞定了。